Tutorial: Fix Texture Bleeding Using Shader in Godot
What is texture bleeding
Texture bleeding is a common issue in 3D graphics where colors of the texture bleed into neighboring areas.
What causes texture bleeding
Texture bleeding is caused by a combination of mipmaps & linear texture filtering.
Mipmaps
A mipmap level is a version of a texture with a specific resolution. Mipmap levels exist in sets called mipmaps. Mipmaps contain progressively smaller and lower resolution versions of a single texture. Mipmaps are intended to increase rendering speed and reduce aliasing artifacts.
For example, a mipmap might contain four versions of a texture, from the original texture (mipmap level 0), to mipmap level 1, mipmap level 2, and mipmap level 3.
Texture Filtering
Texture filtering or texture smoothing is the method used to improve the appearance of textures viewed at different angles or distances. It helps reduce artifacts when textures are stretched, shrunk or rotated.
- Nearest-neighbor with mipmapping
- This method still uses nearest neighbor interpolation, but adds mipmapping. This reduces the aliasing and shimmering significantly during minification but does not eliminate it entirely.
- Linear mipmap filtering
- OpenGL and other APIs support nearest-neighbor sampling from individual mipmaps whilst linearly interpolating the two nearest mipmaps relevant to the sample.
Lower level mipmaps appear based on the distance of the texture to the camera. When a texture is downscaled for mipmaps with linear filtering on, the texture gets blurrier each mip level. This causes sharp details at mip 0 become blurred at mip 3, causing texture bleeding.
When viewing the texture at an angle, the texture appears compressed in one direction. This causes the GPU to select a lower level mipmap and cause texture bleed.
Solution
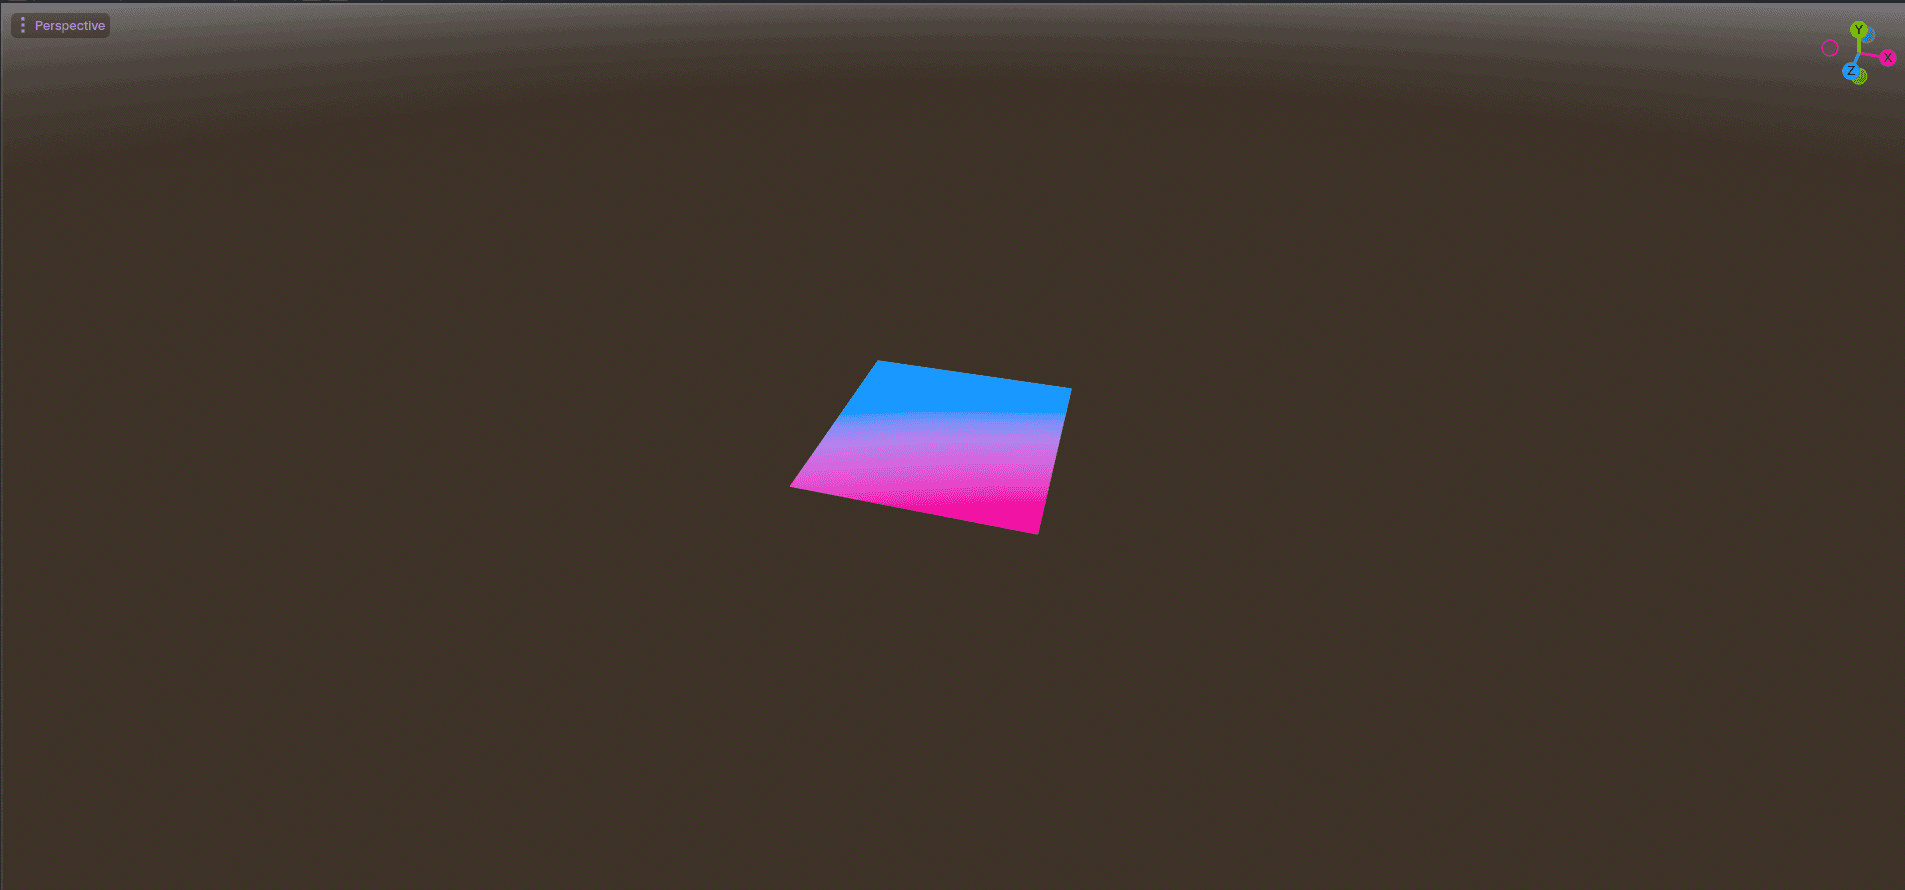
Comparison between linear and nearest-neighbor filtering at mip 0.
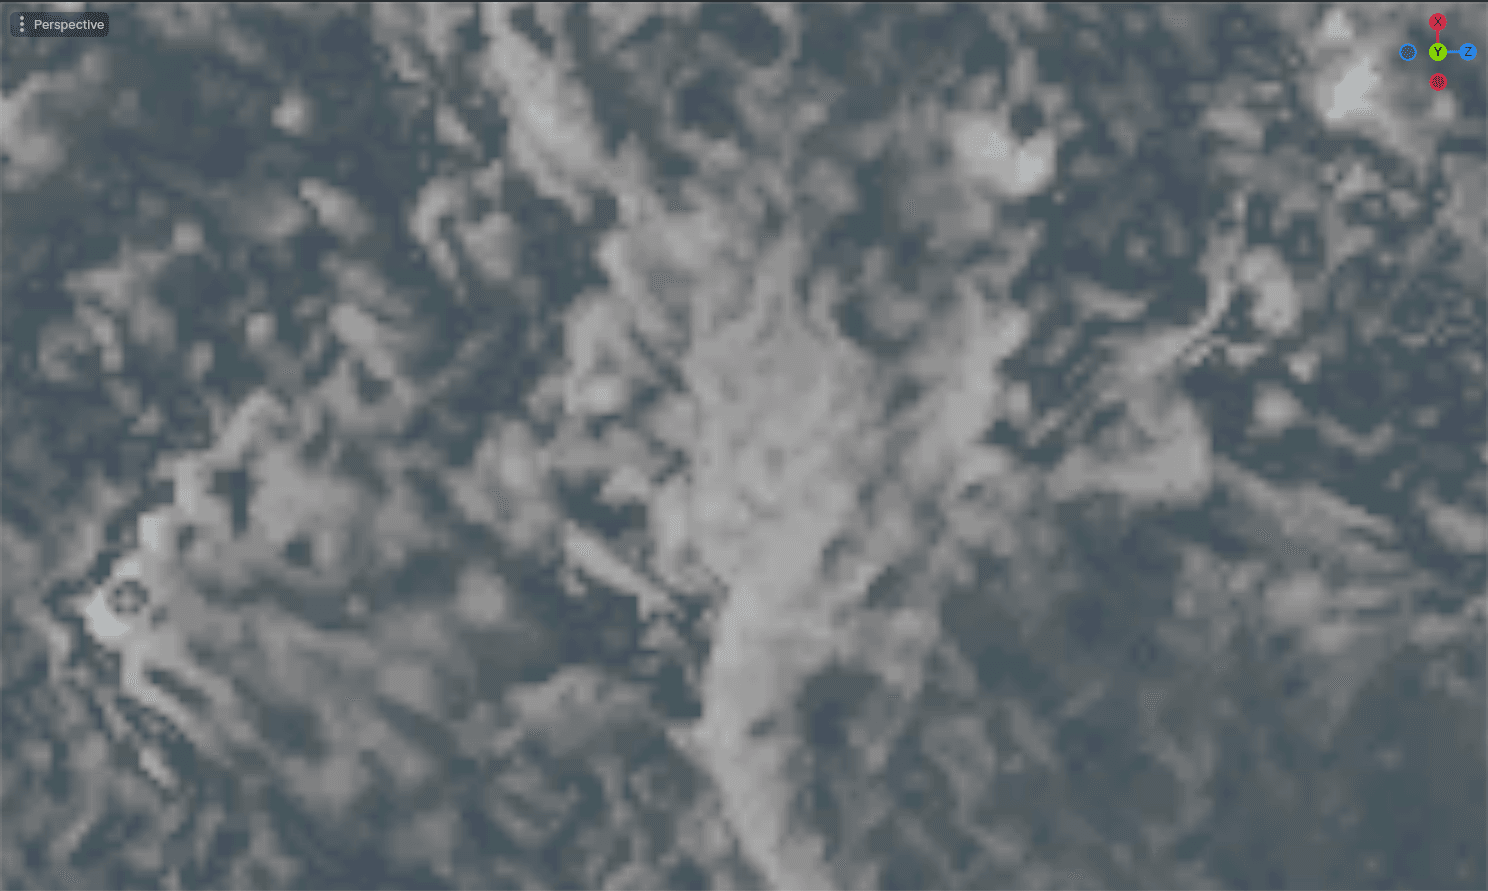
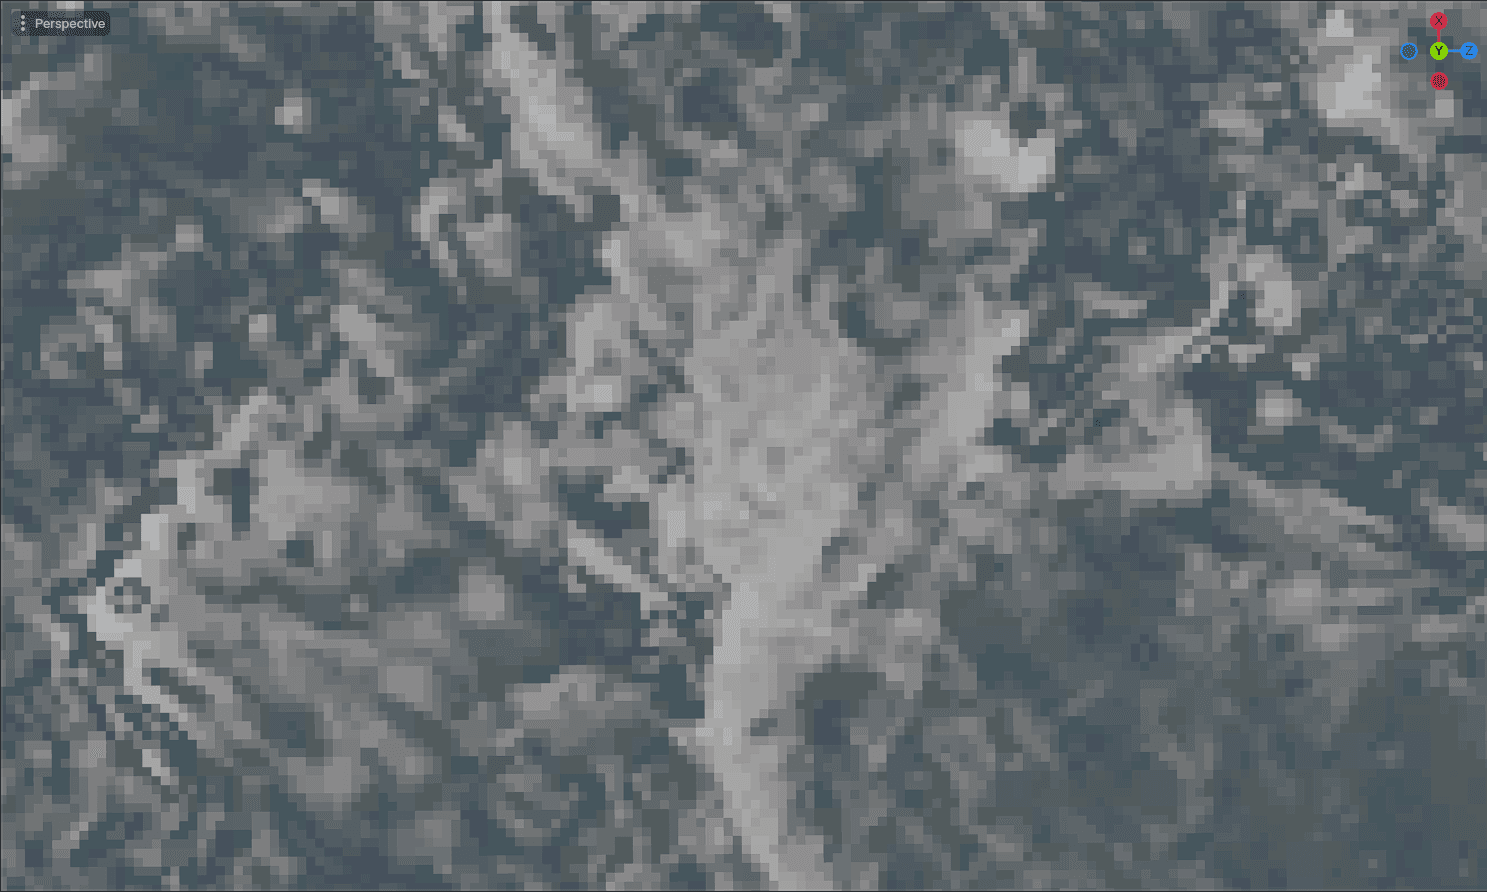
Comparison between linear and nearest filtering at mip 6. The bleed is visible on the linearly filtered image.
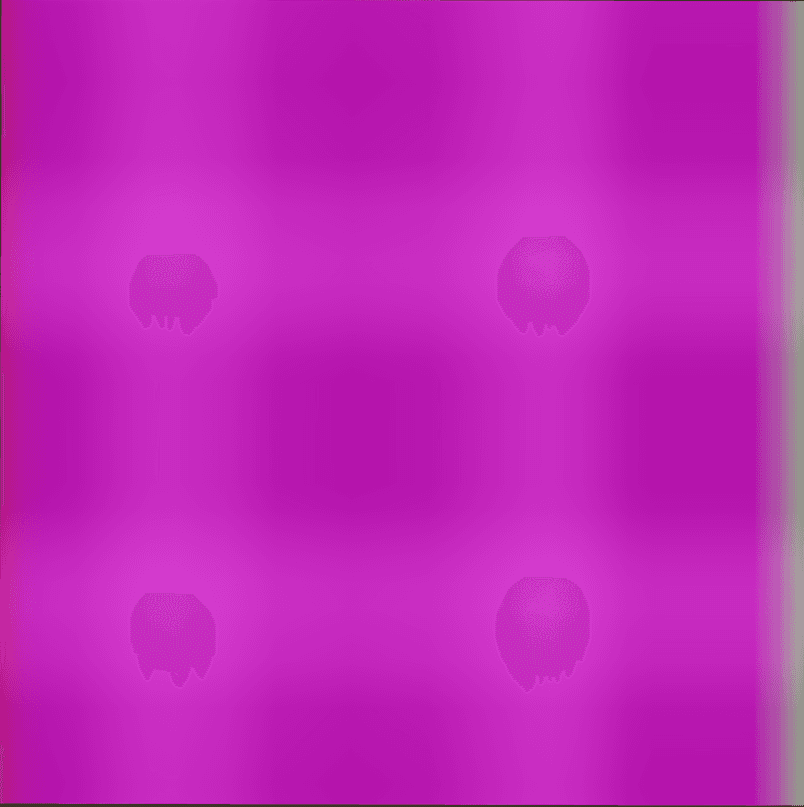
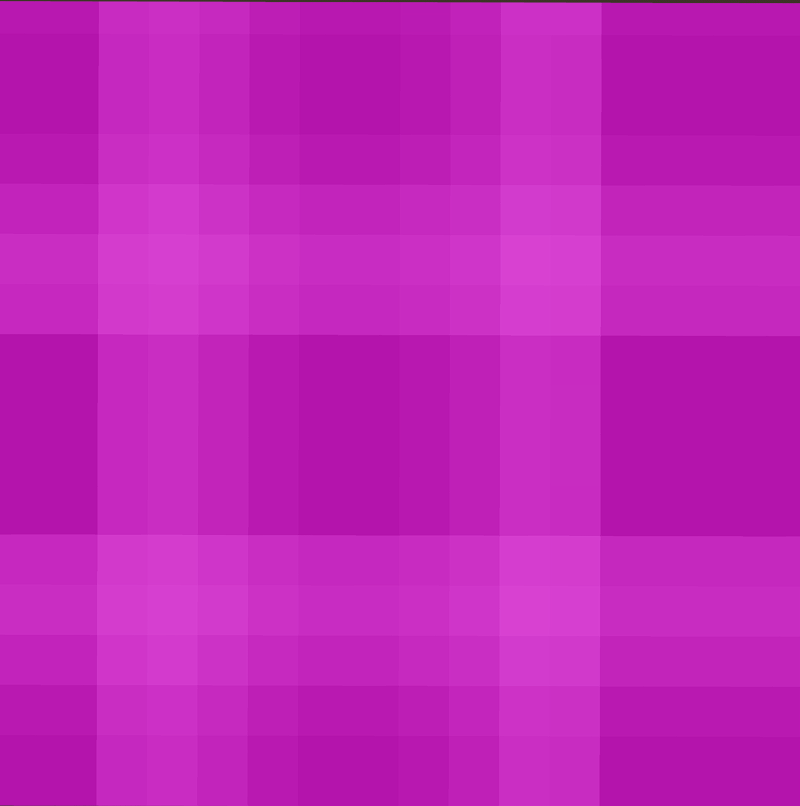
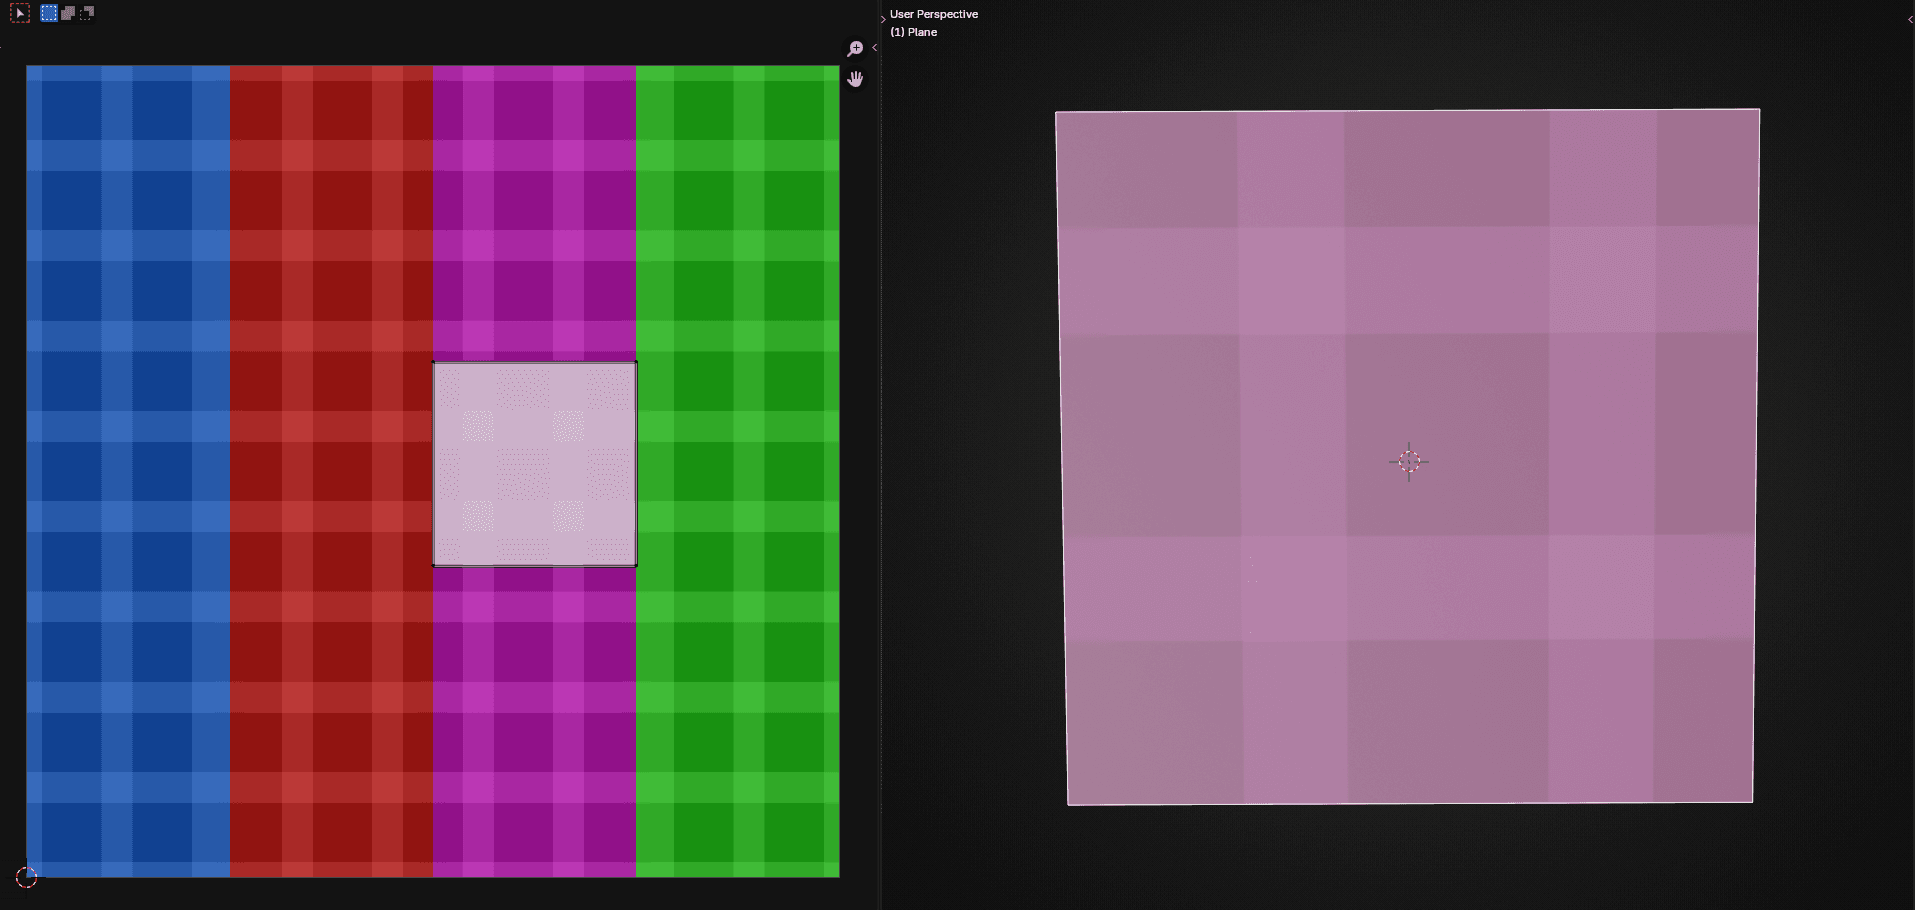
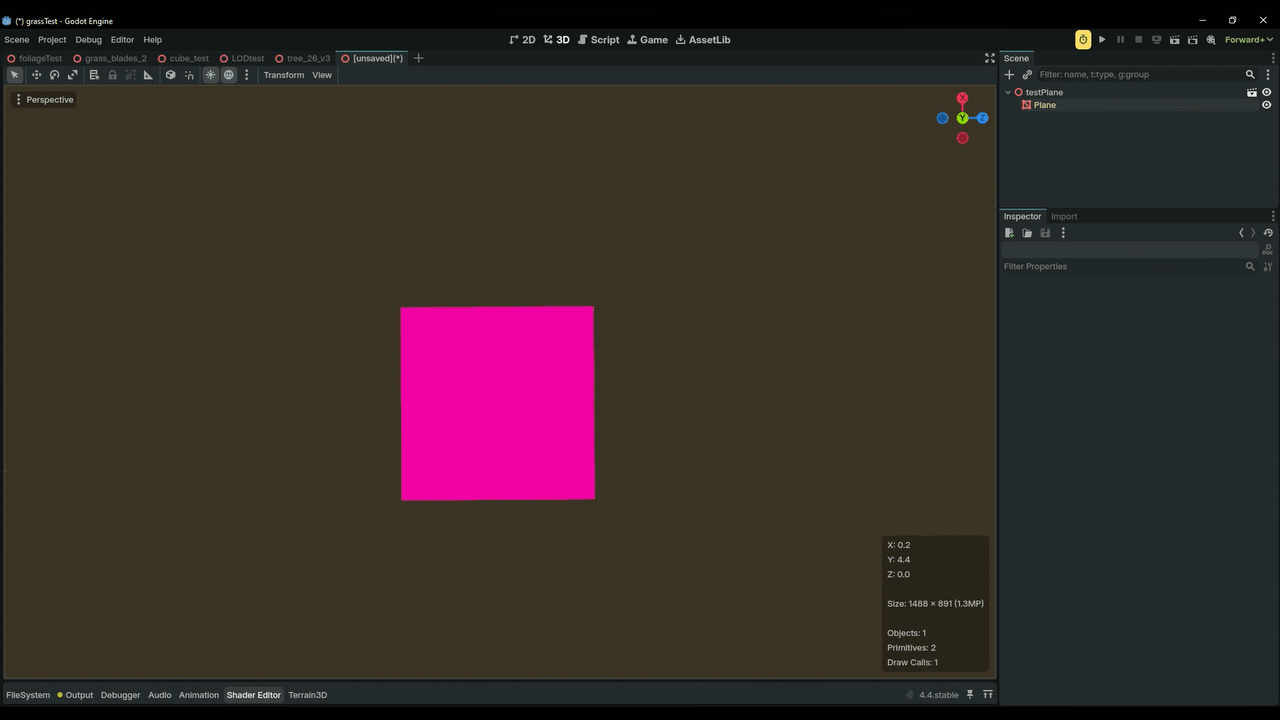
Texture setup (texture is 1024x1024)
Comparison between linear and nearest filtering at 35m at mip 9. The pixelated look of nearest filtering isn't noticeable at a distance.
It’s clear that nearest-neighbor filtering solves our texture bleeding issue, but looks pixelated at close viewing distance. To solve that, we can use a mix of linear and nearest filtering based on distance from camera. We’ll use linear filtering when the texture is closer, nearest filtering when it’s really far away. The distance at which texture bleeding happens will depend on texture size and UV, so we have to set the distance manually.
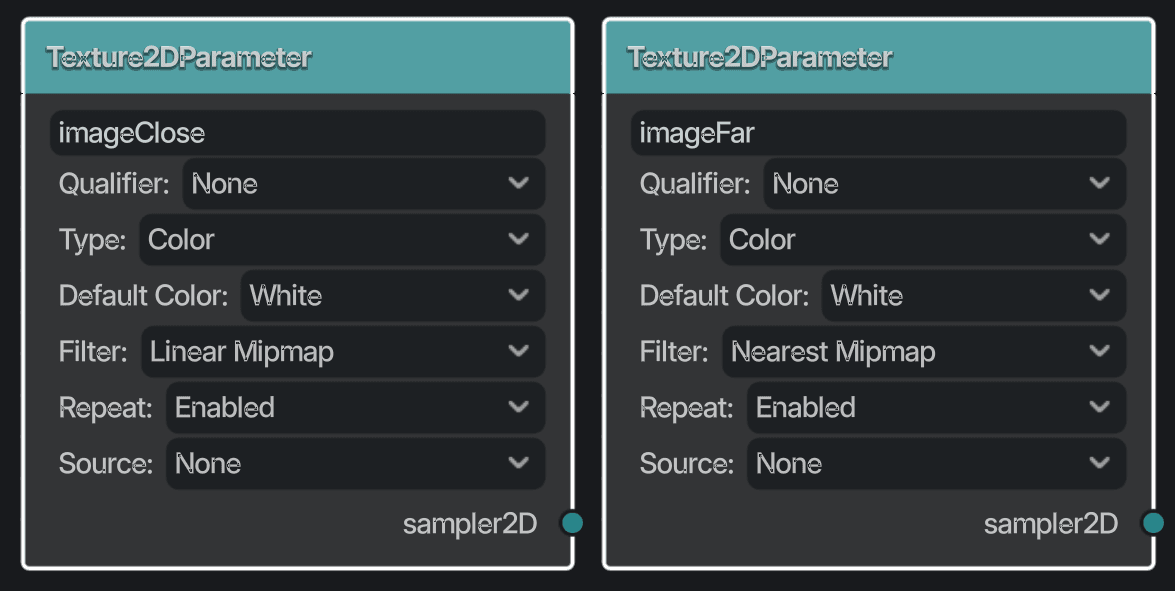
In Godot 4, we can set the filtering option in the Texture2DParameter in the Visual Shader.
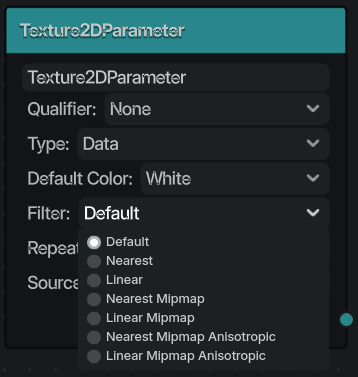
For Shader Code, we can set it using
uniform sampler2D texture_albedo : source_color, filter_linear_mipmap;
We’ll use Linear Mipmap for when the texture is close to the camera, and Nearest Mipmap for when it’s far.
Now we need to blend between the two samples based on distance to camera.
First we need to get the distance of VERTEX from the center of the screen.
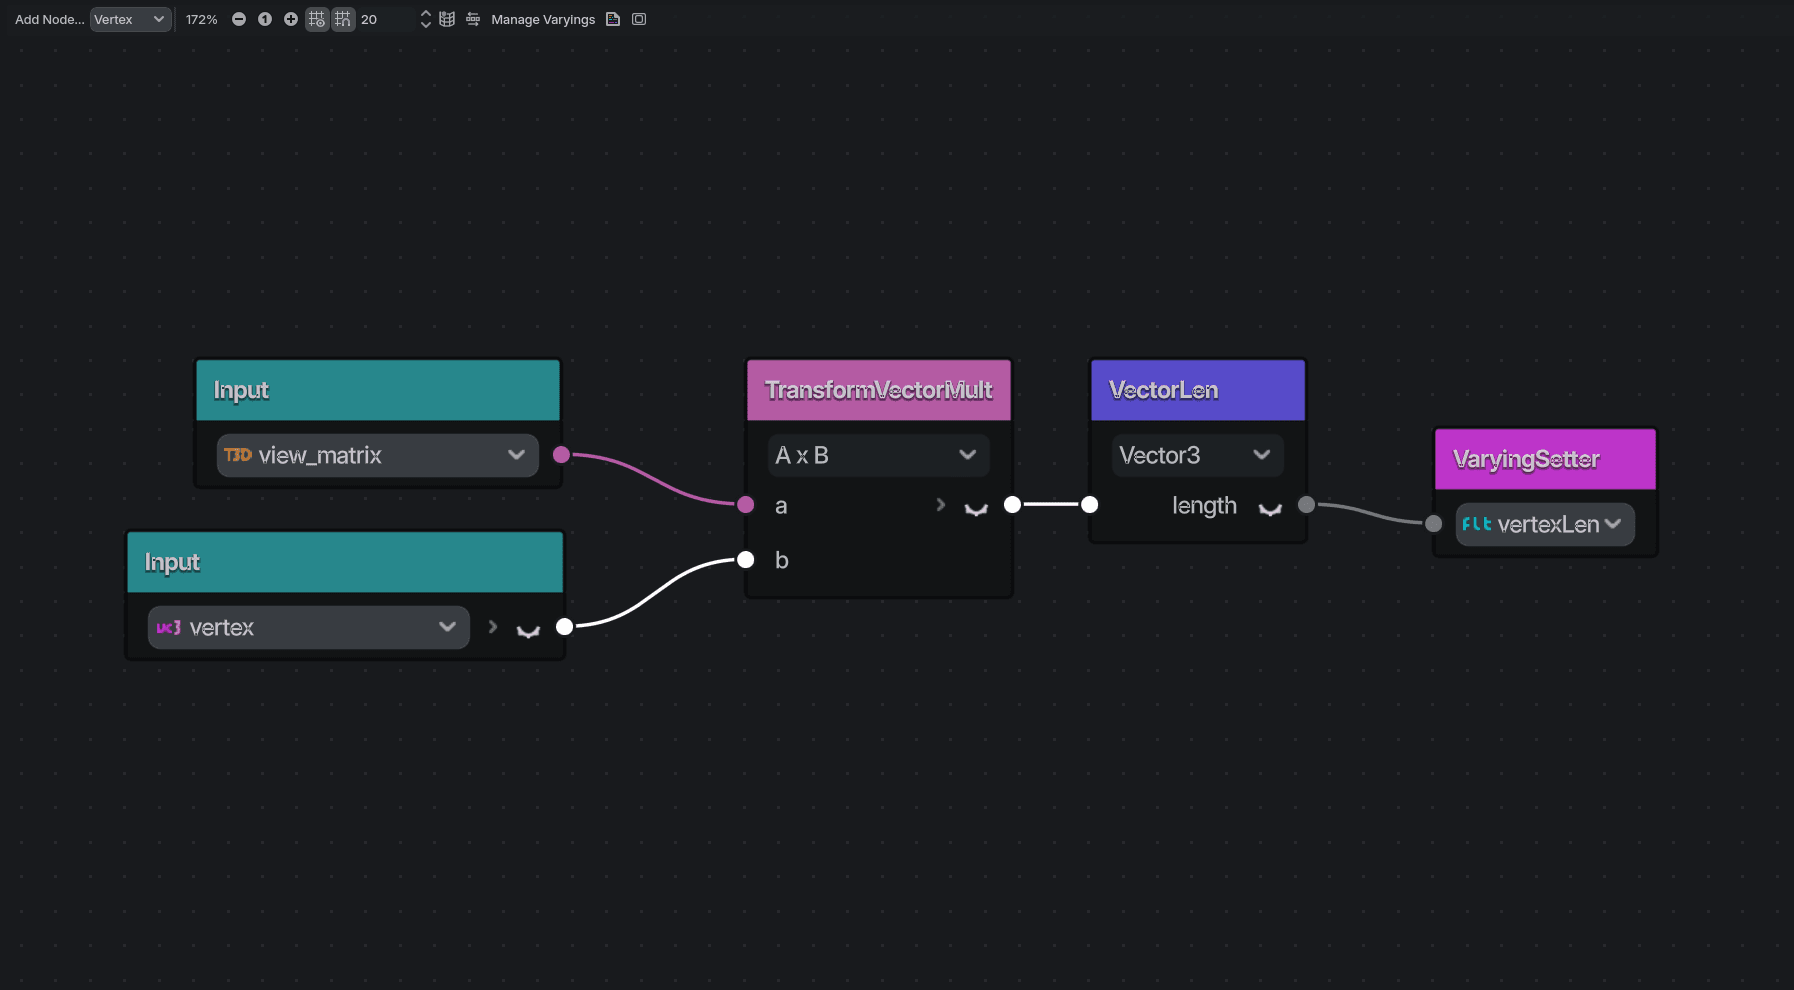
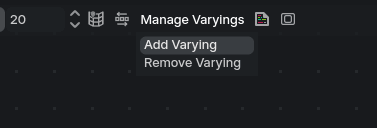
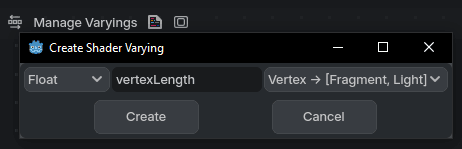
Send the value from the vertex shader to the fragment shader using a varying.
In fragment shader, we use the VertexLength value to calculate and set start of transition and transition range. This is the blending factor for our two image samplers.
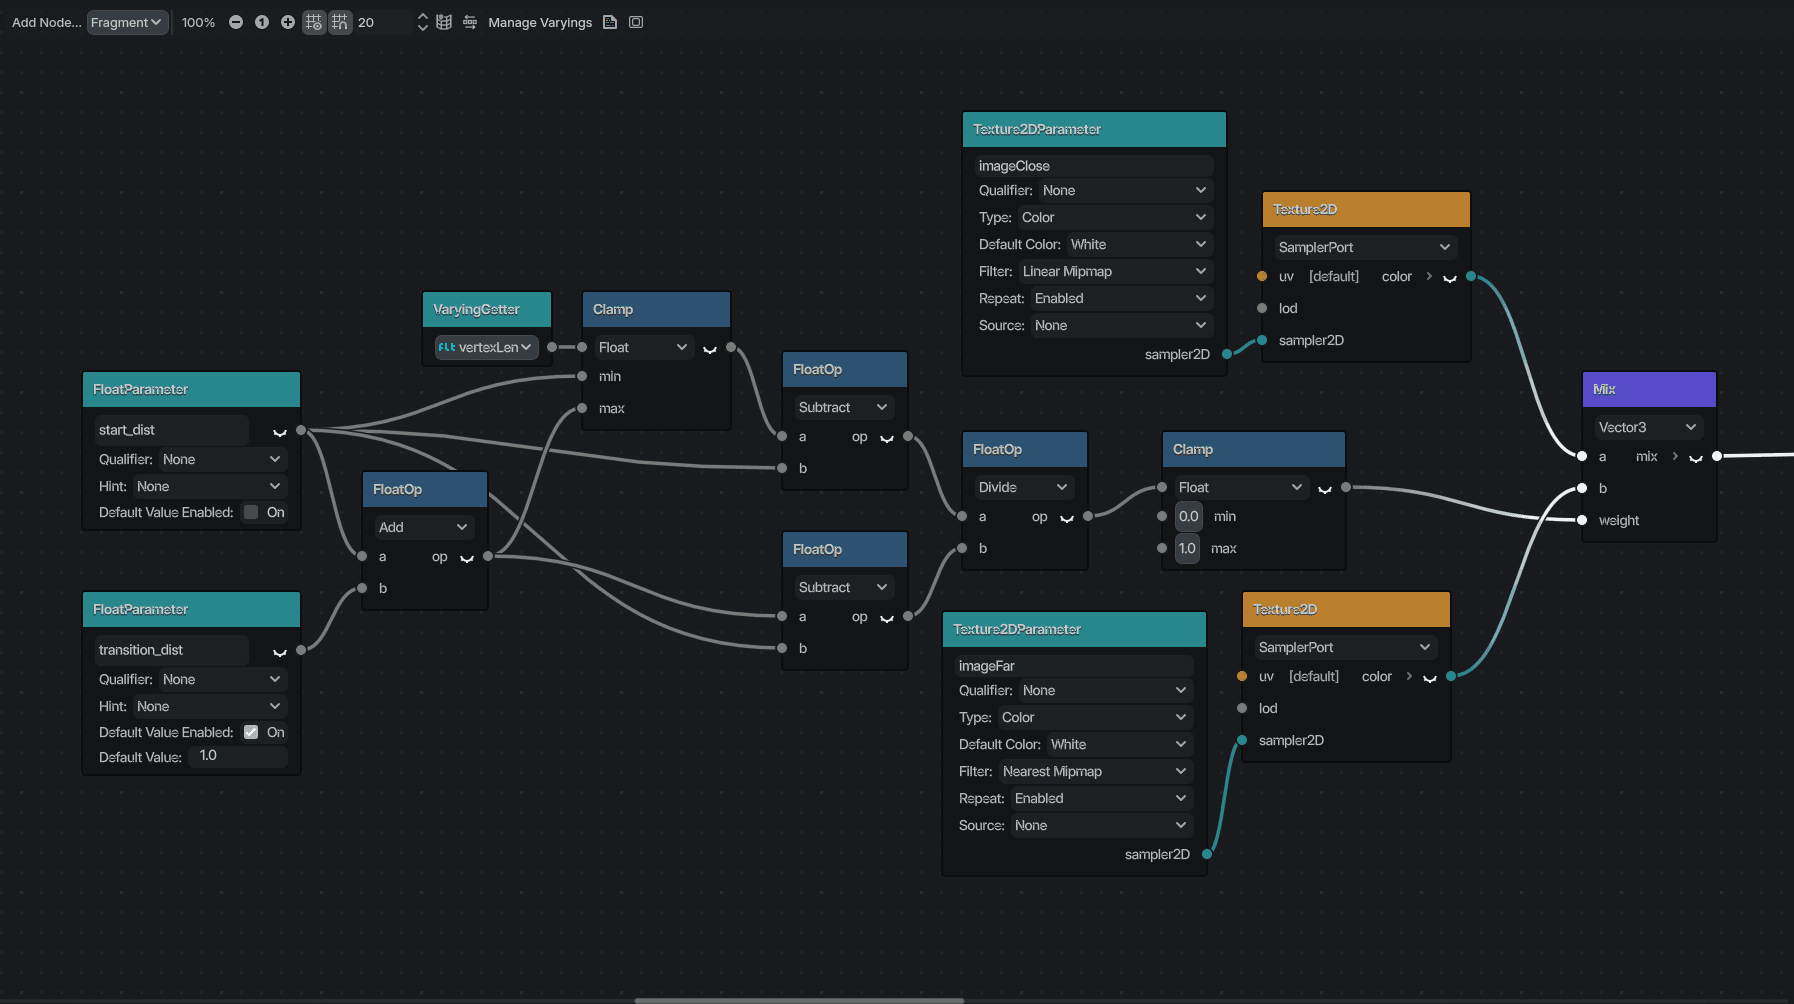
Blending between two images.
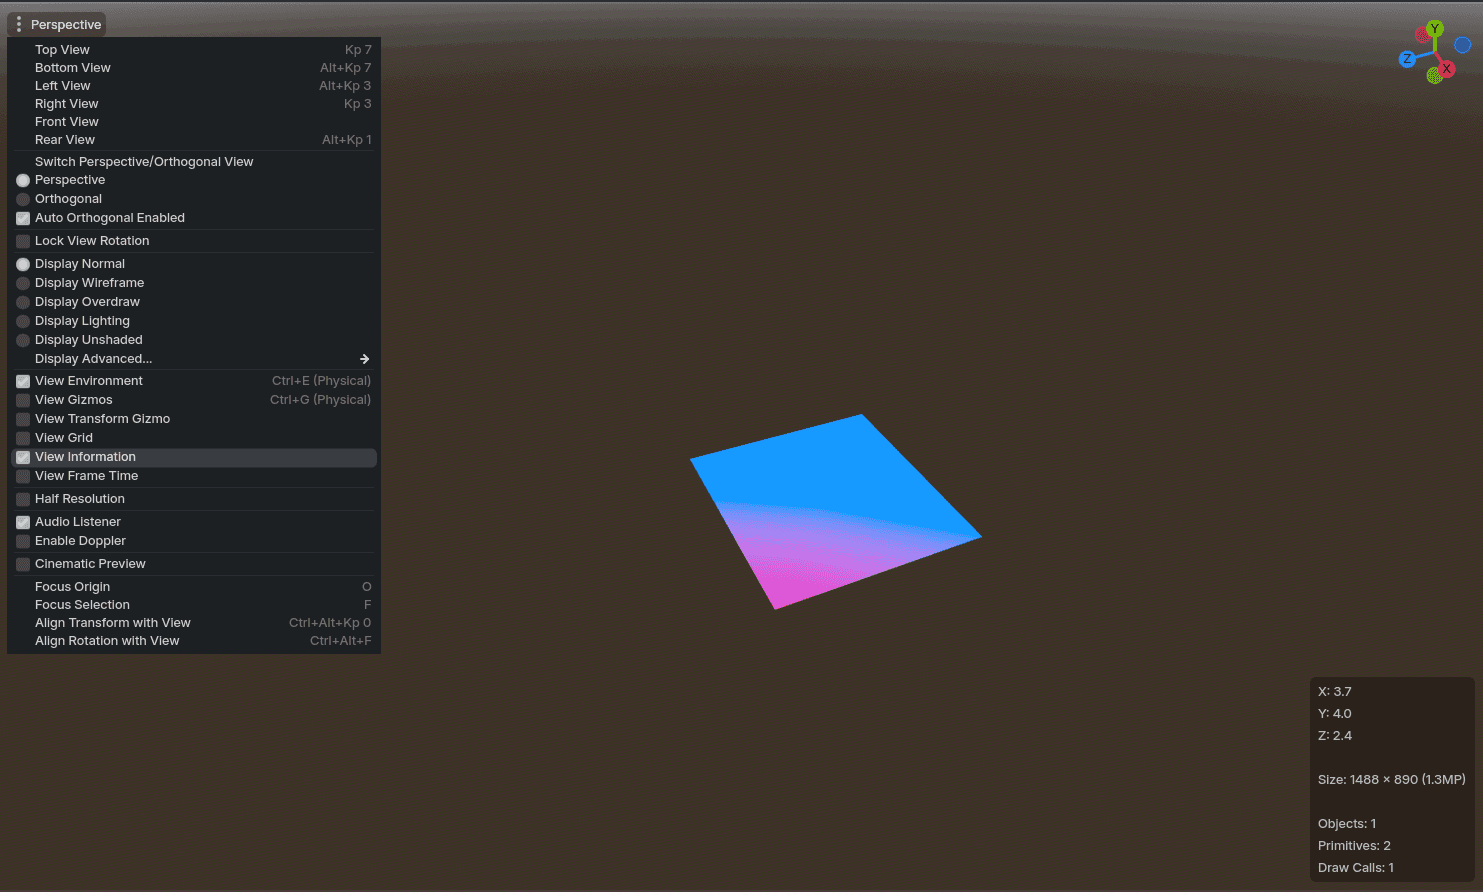
And that’s it. Now we have a shader that blends between linearly filtered and nearest filtered images based on distance to camera. We set the start of transition in the start_dist parameter, and transition distance in the transition_dist parameter. Both of these values are in meters. The values are set based on the distance where the texture bleeding starts. You can see the distance to world origin by turning on Information in Godot.
Use Cases
This shader is useful for UVs that have little padding. Instead of adding a lot of padding to textures, this method can be used instead. It can be useful for trim sheet workflows as well.
This shader was done in Godot 4, but it can be easily implemented in Unity or UE using similar nodes.